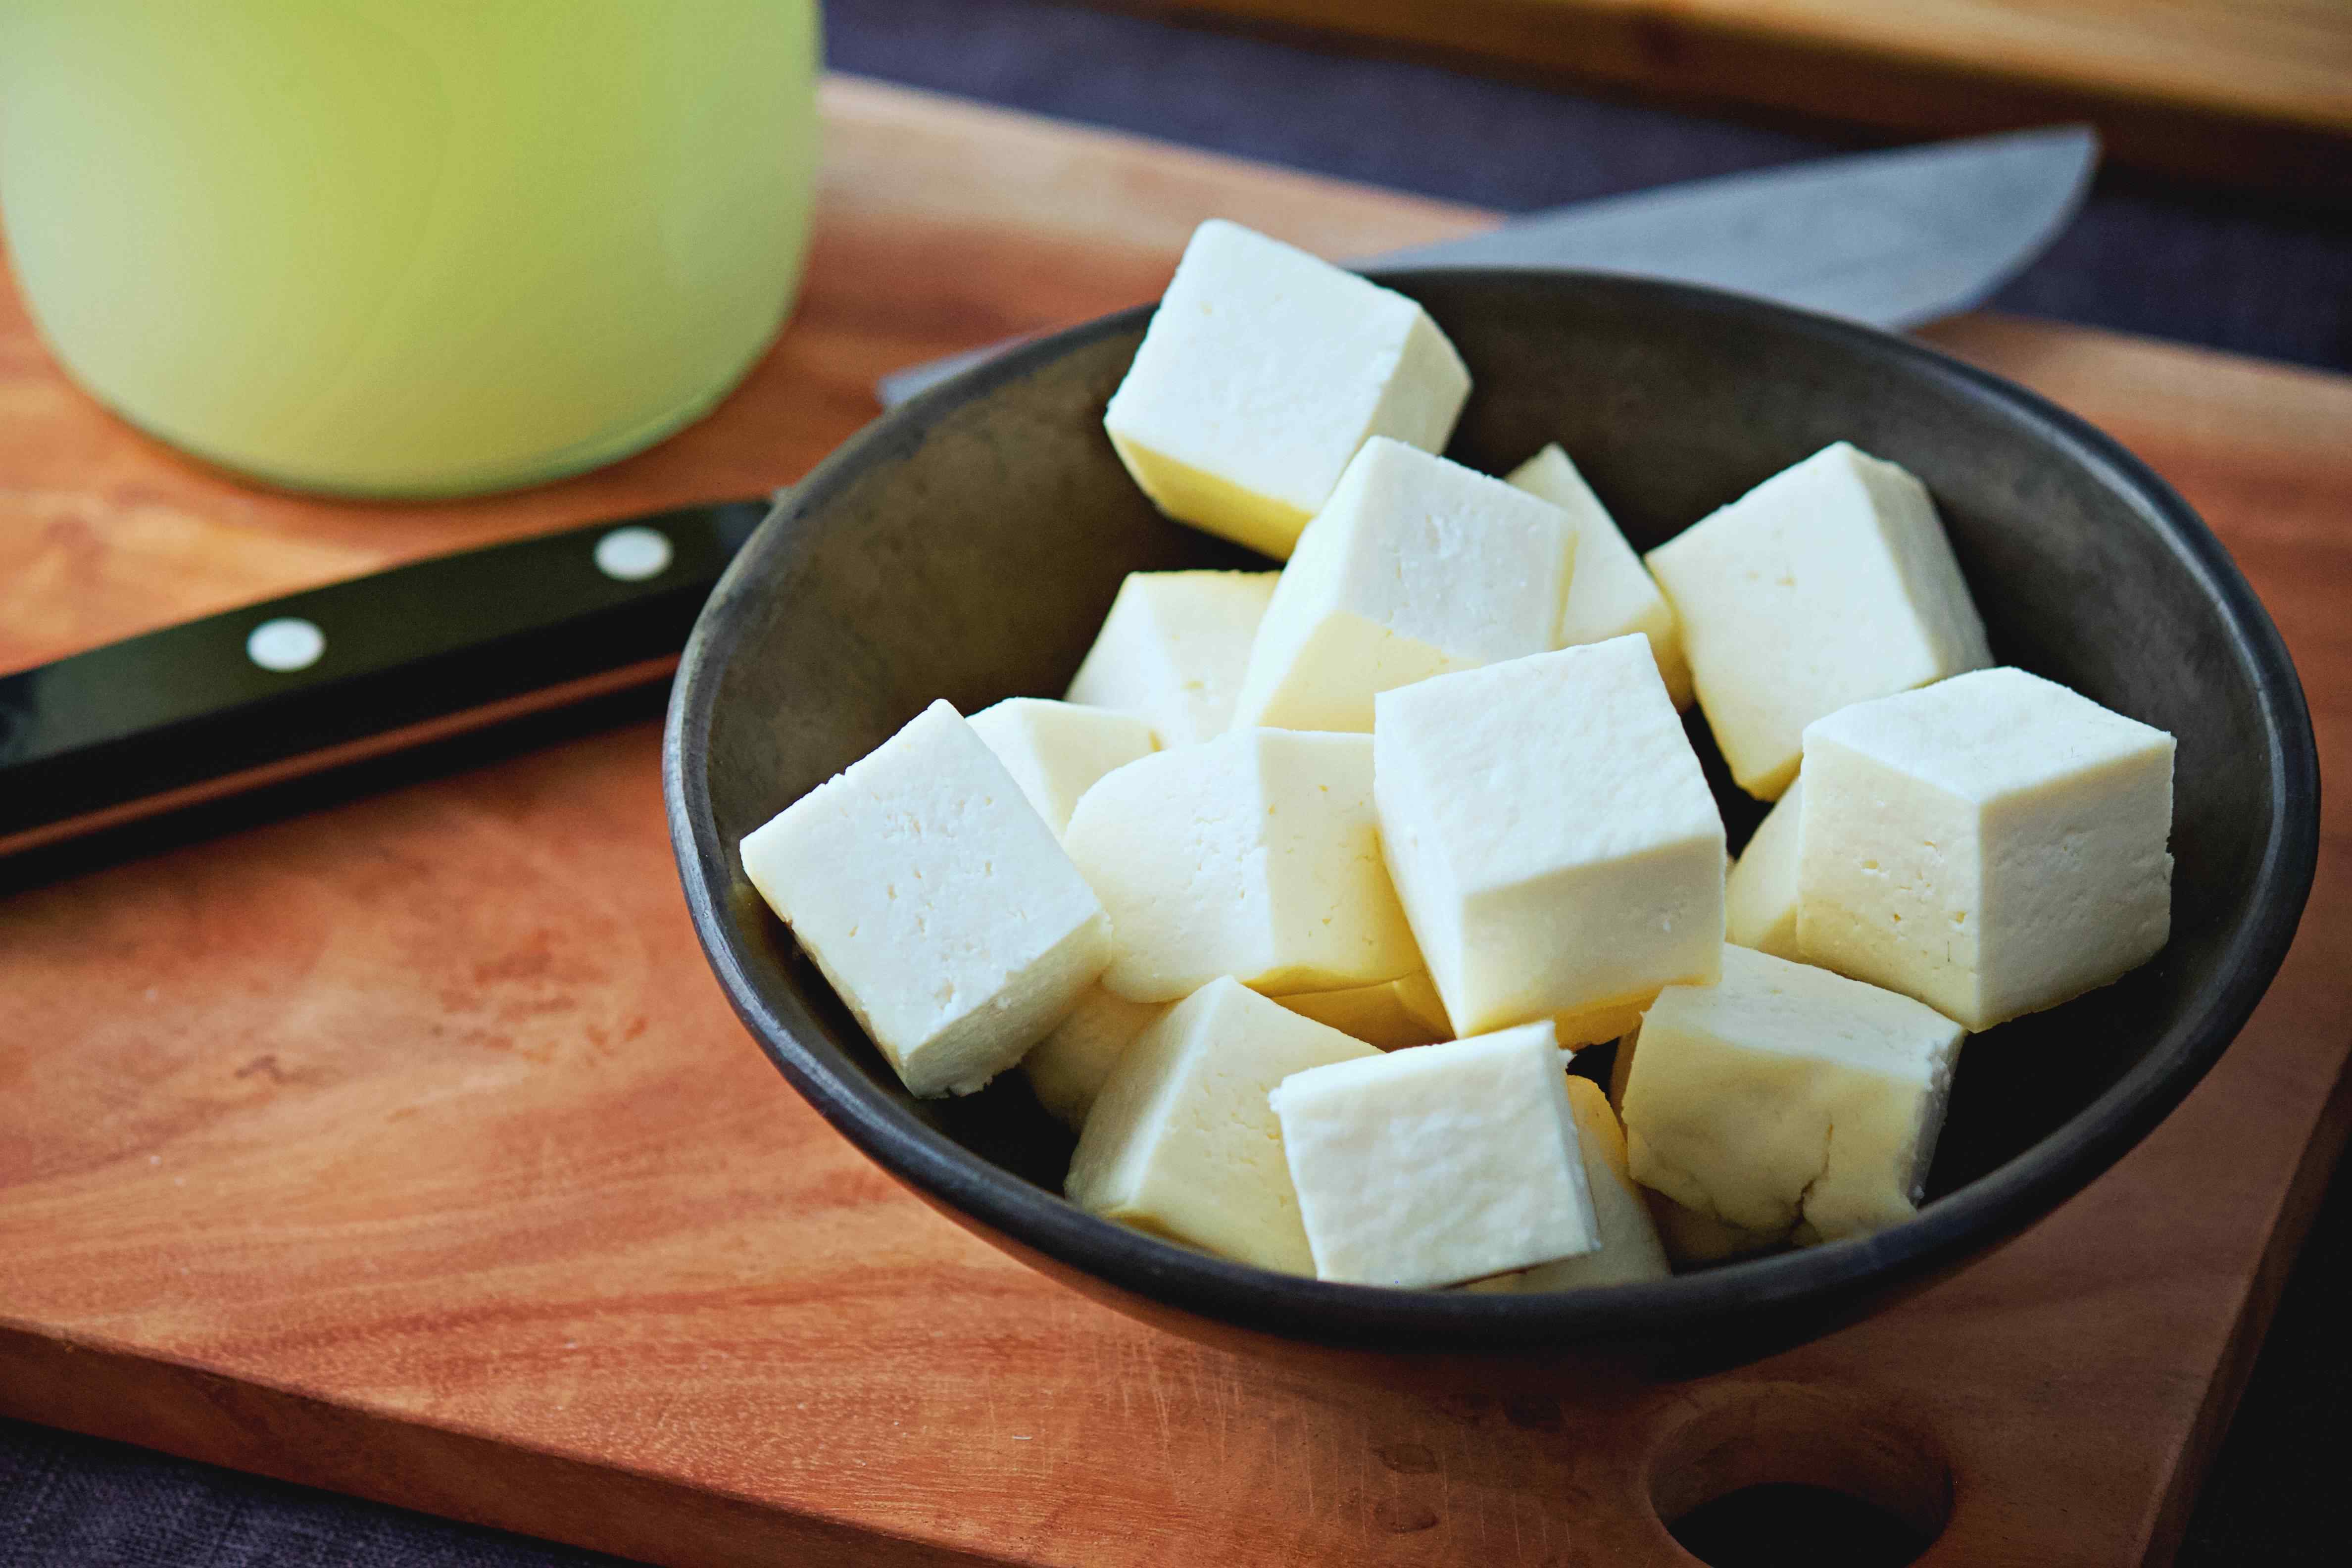
Making Paneer at home is way easier than it sounds. It doesn't take much longer than the time it would take to boil milk, and it results in Paneer that is much softer and super in texture when compared to the packaged store-bought varieties we can buy here in Berlin.
My grandfather used to make a small batch of fresh paneer almost every day for breakfast, to spread on his toast. This fresh ricotta like cheese was his favourite bread-spread and I would wait patiently by his side as he carefully waited for the small milk pot to come to a simmer, add in a squeeze of lemon juice and then carefully strain out a couple of tablespoons of fresh paneer crumble.
In this recipe, we go one step further from my grandfathers routine to make a cohesive block of paneer that can be cut into cubes and added to curries like palak paneer, shahi paneer or be used for dishes like paneer tikka.
Fresh homemade paneer is one of the true delights of life and when you make a batch, do try a cube or two with just a light sprinkle of salt. That's how my father and I would devour more than warranted quantities freshly made paneer (to my mothers' dismay).
- 2 litres full-fat cows milk
- 65 ml lemon juice (or vinegar)
- Setup: muslin cloth, strainer and large bowl
- Before adding the milk add a tablespoon of water to the pot. This prevents the milk from sticking. In a large pot on low heat, bring 2 litres of milk to a simmer.
- Stir the milk occasionally to prevent it from sticking to the bottom. You need to keep an eye on it to make sure that it doesn't boil over.
- Once the milk comes to a simmer, add the lemon juice (or vinegar, doesn't matter what form of acid you use) to the hot milk and stir. The milk should immediately begin to curdle - you will see the milk solids separating from the whey. If the milk doesn't curdle gradually add a little more acid till it does.
- Once the whey is relatively clear and no longer looks cloudy, you can turn off the heat and pour the mixture into a large bowl that's fitted with a colander and muslin cloth.
- Separate the curds from the whey* using a muslin cloth and tie the curds together tightly into a ball.
- Let the excess liquid drip out from the paneer my handing the cheesecloth for 30-45 mins.
- Once the paneer is well-drained, place a heavy weight on the paneer (while it's still in the muslin cloth) to set the paneer into a firm circular disk. We did this by placing a chopping board over the paneer and pressing it down with a heavy pot. Let the paneer sit like this for 2-3 hours to press all the excess whey out and to let the milk solids fuze together into a solid mass.
- Your paneer is now set and ready. We recommend refrigerating the paneer (covered in a damp cloth) for around 30 mins to allow it to set further before cutting into it to get clear cut cubes that don't crumble.
*Whey
This recipe calls for 2 litres of milk and yield about 250g of paneer. The by-product of making this paneer is a considerable amount of whey, usually around 1.5 litres or so. This protein rich sour liquid shouldn't be thrown away. It can be used to enrich many dishes with nutrients and more flavour. Here are some ways that we like to use whey:
- to make a softer dough for rotis and parathas just replace the water with whey, in fact you can use for any bread from brioche buns, pav or even your sourdough bread
- use it in place or water or stock in dals, stews and soups
- use it as a liquid for cooking rice, pasta, noodles or potatoes
It stores well in the fridge for a few weeks so make sure you bottle it up for later use.
